
Simple WPF Compass Control
- Aug 24, 2019
- 3 min read
Updated: Aug 25, 2019
The source for this project is here: https://github.com/Corey255A1/MiscWPFControls/tree/master/MiscWPFControls/Controls/Compass
This is going to be a quick rundown of how to make a WPF Compass Control.
Create the Graphics
I highly recommend downloading Microsoft Expression Design 4. Its a little bit old, but it is free and perfect for whipping up quick SVGs for use in WPF.
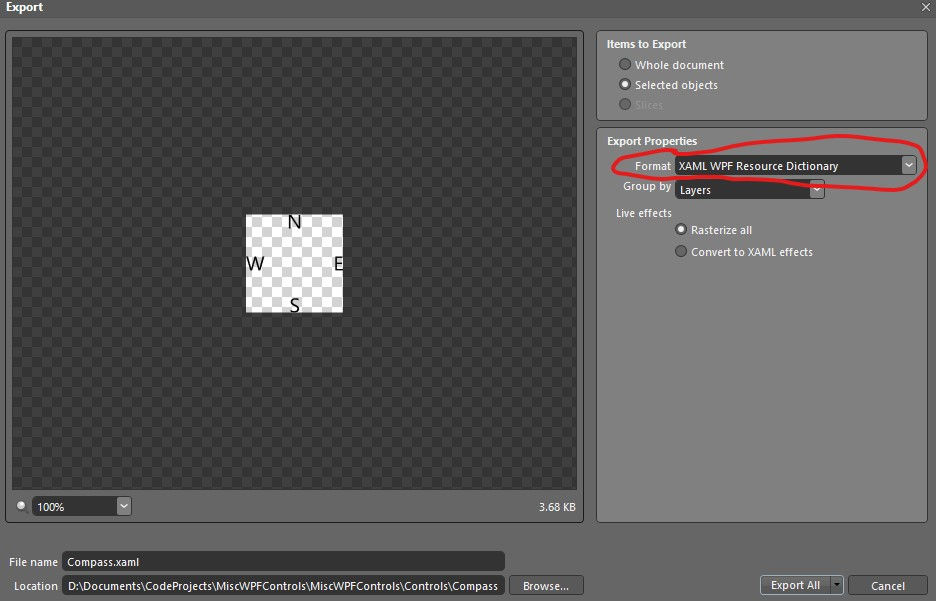
When you export from Expression, you can export it as a WPF Resource. Which you can then load and make the Fill of things like Rectangle or Ellipse
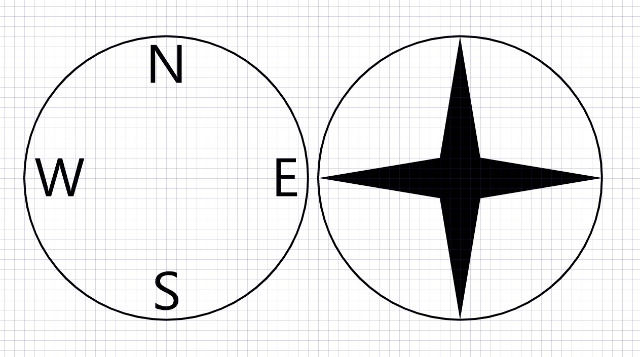
Below is the export of the N,S,W,E in XAML form.
Export the two pieces of the compass from the XAML, and what I did was combine the two files in to one. Make sure to change the x:Key value to something unique. Mine were NSWE and Star. Copy the <DrawingBrush> to </DrawingBrush> and make sure they are both in between one ResourceDictionary.
Resource Dictionary
One thing to notice is that the x:Key="Star", if you look at the GeometryDrawing Brush="{Binding StarColor, FallbackValue=Blue}". This allows you to change the fill of the SVG produced Geometry. In this case, StarColor just has to be defined as a property in the control that you are applying the DrawingBrush to. You will see this when I get to the code behind
User Control XAML
Now create your new UserControl in your WPF project. Add a ResourceDictionary to the UserControl.Resources.
<UserControl.Resources>
<ResourceDictionary Source="CompassResources.xaml"/>
</UserControl.Resources>
This is key, because with out it we can't use the resources that we just created.
I added three Ellipses. One that creates a ring around the border of the compass. One that adds the Star. And one that adds the NSWE labels. The StaticResource value is the x:Key that you set in the resource dictionary xaml.
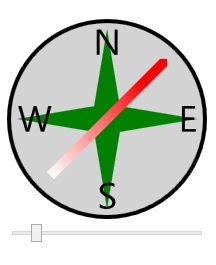
The next piece is the needle that spins around. I accomplish this by drawing a line in the center of the control. X1 and X2 are bound to a CenterWidth property that I define in the code behind. I'll get to how that works in a minute. The Y1 and Y2 are set to NeedleStart and NeedleEnd which I have set based on a NeedleLength value.
A key point here is the RenderTransformOrigin. To make the needle spin from the center, ensure that it is set to 0.5, 0.5. When adjusting the angle it will now spin in the middle.
StrokeStartLineCap="Triangle" gives the North pointing end a nice point.
The LinearGradientBrush colors the needle Red to White so that it easy to tell the ends apart.
Line.RenderTransform and RotateTransform the Angle is bound to the NeedleAngle property.
Code Behind
I went with the standard Notify Property Changed property approach for the bindings.
If you haven't seen the [CallerMemberName] attribute before, it is really handy in this case. It allows you to just call NotifyPropertyChanged(); and when the code is compiled the name of the member calling it automatically gets filled in behind the scenes. This eliminates the need to have NotifyPropertyChanged(nameof(BackgroundFill));
To make the CenterWidth and CenterHeight properties work, I overrode the OnPropertyChanged of the user control. When the ActualWidth and ActualHeight properties are set, I set them to half it. Also I have it calculate the NeedleStart and NeedleEnd.
The key piece here was that for me to be able to bind the NeedleAngle to a value on the MainWindow slider angle, I had to make it a Dependency Property. If you are using a newer version of Visual Studio, you can auto fill out a template for that by typing propdp and tab twice.
Main Window
Here you can see I just add the Compass control to the window. In the code behind for the window I have a Angle property that I'm binding the Slider value to.
In order to tie the Main Window Angle property to the Compass, first give the Window a name. In this case Name="mainWindow", then in the binding for the NeedleAngle, specify which element to get the property from:
NeedleAngle="{Binding Angle, ElementName=mainWindow}"
You can also see that you can set the StarColor and the NeedleLength directly from the XAML here. However, in order to bind those values to something, you would have to change them from Properties to DependencyProperties.
Enjoy!


Comments