
Simple JavaScript Letter Draw
- Sep 2, 2019
- 3 min read
I am by no means a web developer. My day job is a desktop application developer. However, I dabble in little bits of everything if it isn't obvious by my blog posts. If you have a GitHub account you can create a simple static webpage to mess around with however you want. If you checkout https://corey255a1.github.io/ you can see some of the little JavaScript projects I have been working on. I like the fact that you can directly draw on a canvas. With JavaScript and HTML you can code pretty much anything you can think of with minimal setup. Its also something I can easily do from my Chromebook. I don't think anything I do in those projects would be considered best practices for JavaScript, but hey, they work!
I had been imagining letters being drawn out line by line sort of like it was being laser cut.
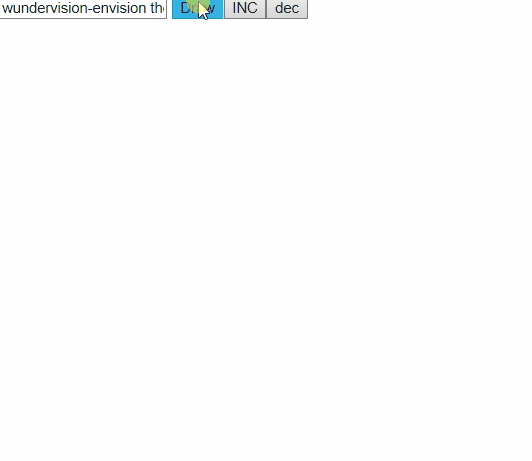
The HTML for this project is very simple.
A input box for the words to etch, a button to draw it, buttons for increasing and decreasing the size, the canvas for drawing and the reference to the JavaScript . Simple!
I wanted the letters to be drawn at arbitrary sizes, so my design involved thinking of the letters as vectors in a (0-1, 0-1) = (x,y) square. Remember in computer graphics (0,0) is the top-left corner of the region. So the letter C would be (1,0) (right, top) to (0,0) (left, top) to (0, 1) (left, bottom) to (1, 1) (right, bottom). This allows it to be scaled to any size simply by multiplying it by the size!
In older JavaScript the way to make a "class" is to define a function. There are some weird scoping things that happen with "this" which is why in most of my little projects my class sets self to this at the top. This ensures if I'm using self, it is what I think it is. The LastX and LastY values are for storing the end point of the last line that was added. This makes it easier when defining a letter to just add the next line based on the last line. GetLines takes in the x,y offset for the top left corner and the width and height of the letter. Then it generates a new list of all of the lines at their offset and scale.
The NextLine and AddLine functions return itself so that the calls can be chained together. You will see in a minute.
The DrawLetter "class" takes care of splitting up the lines into smaller lines. On each call to the DrawNext function it draws the next line segment of the current line of the letter that it represents. If the letter is finished, it returns false, otherwise it returns true. This is what gives it the drawing/etching effect.
I then created an object of all capital letters of the alphabet. I suppose I could have made it take a list of objects and parse that rather than the addline/nextline syntax, but there are a million ways to skin a cat.
When the Draw button is clicked, the startDrawing function is called. I get the value from the text box and make it all uppercase. Then loop through each character. The
/^([A-Z])$/.test(chars[a]) is testing if the character matches the regex. In this case I'm checking if it is A-Z. If it is, I use that character to get the letter from the AllLetters object. JavaScript allows you to get variables from the object using strings. I call the GetLines to get a list of lines that are scaled and offset and create a new DrawLetter to handle it. I suppose I could have reused the same DrawLetter over and over. I handled the special - character case and skip a row down. Else if the character doesn't match anything we just skip it.
Then we call the Update(); Update() calls the DrawNext on the current letter until the letter is done and calls the requestAnimationFrame to keep the loop going until all letters are done.
And that's it, you have a pretty cool letter etching effect!
Try it out below or go here https://corey255a1.github.io/LetterEtch/LetterEtch.html


Comments